A Non-Delivery Report refers to a management panel that indicates details when a shipment fails to be delivered to the recipient. It comes with important information about the reasons behind the delivery failure, including incorrect address, customer unavailability, delivery refusals, etc. This management panel lets businesses take rectifying measures to ensure successful delivery, in turn, helping reduce RTO (Return to Origin) and improve customer satisfaction and operational efficiency.
How Can You Navigate to NDR Management?
- Enter the web page link of iThink Logistics: https://my.ithinklogistics.com/ in the browser.
- Enter the credentials (Email and Password) on the Login Page.
- Click on Login.
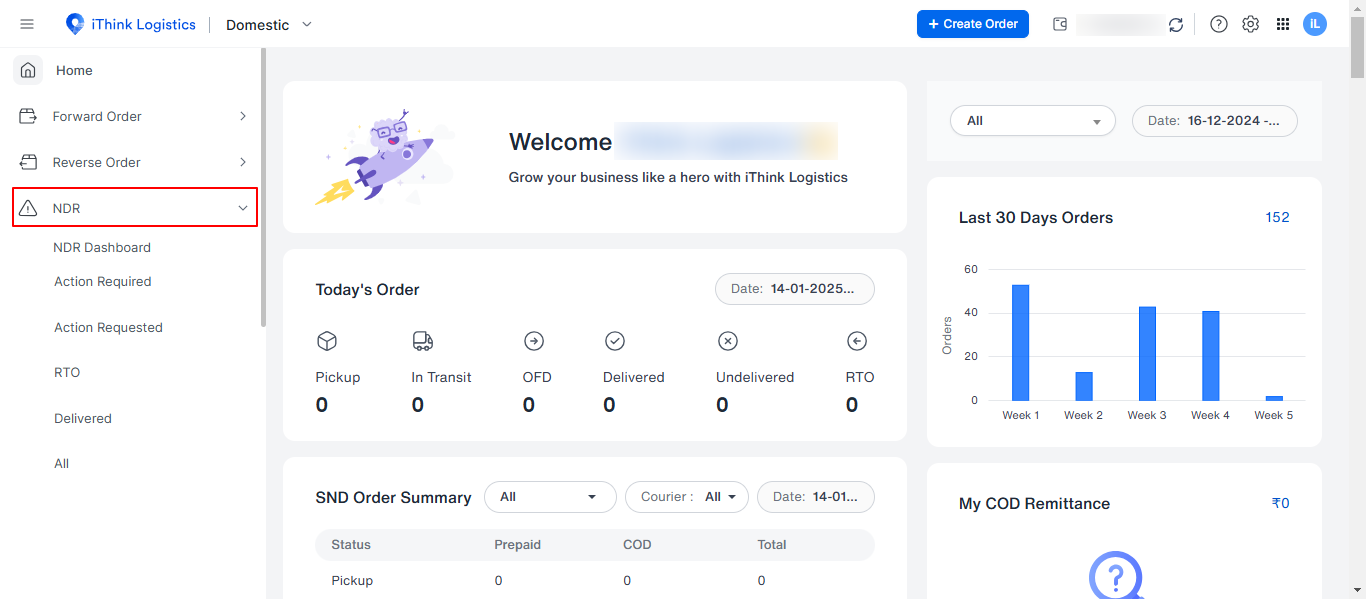
- After successfully logging in, you can view the iThink Logistics dashboard on the screen.
- You can see a menu bar on the dashboard at the top left corner.
- Click on the menu bar, and a drop-down will appear.
- Now click on the NDR [Non-Delivery Report]
How Many Tabs Are There in the Module?
The NDR Module consists of five tabs, each designed to manage undelivered shipments efficiently.
- Action Required
The Action Required tab includes shipments that need immediate attention, such as reattempting delivery or initiating a return to origin (RTO). This ensures that necessary actions are taken to Delivered NDR shipments. - Action Requested
The Action Requested tab contains shipments where an action, such as a reattempt or RTO, has been requested. These actions may have been initiated either by iThink Logistics or by you. Open shipments that are still being processed remain in this tab. - RTO
The RTO tab shows shipments that have been marked as RTO or where the RTO process has been initiated. - Delivered
The Delivered tab shows orders that were initially undelivered but were later successfully delivered to the customer. - All
The All tab provides a complete list of all NDR shipments in the system.

Note: If you don't act against your order, the shipment will be automatically labeled for RTO by the courier partner.
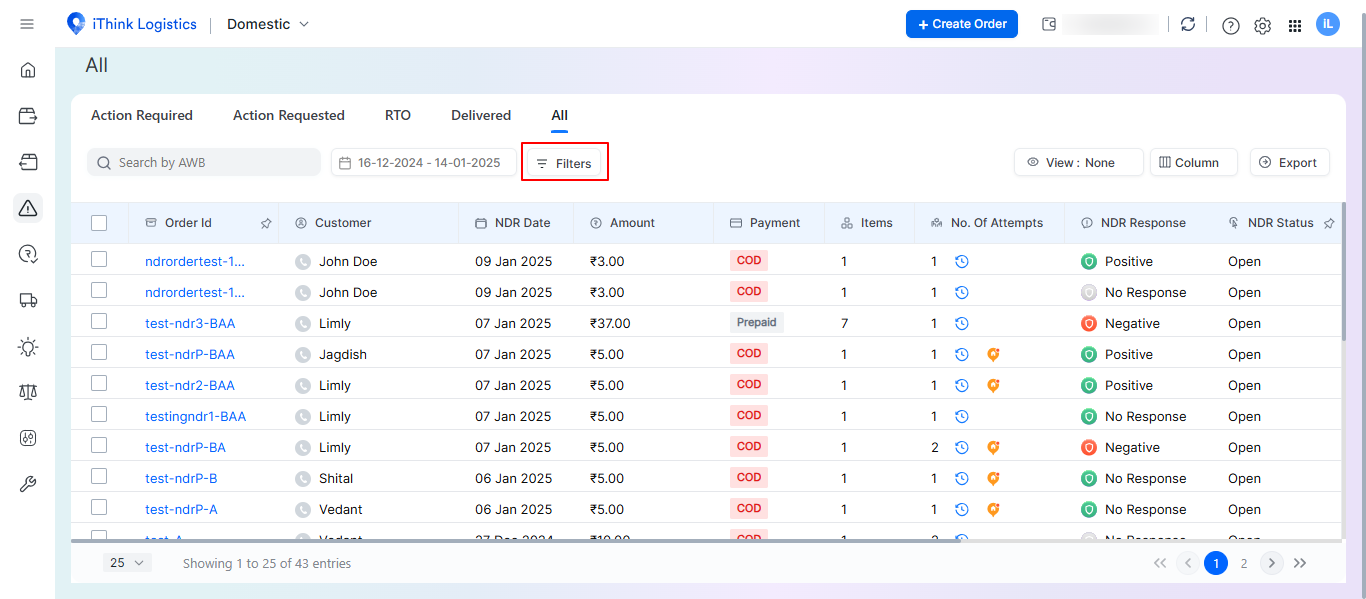
Where Can I Find All the Filters?
The table has various filters. You can find them next to the date filter.
How to Apply Filters?
- Click on the Filter button on Datatable.
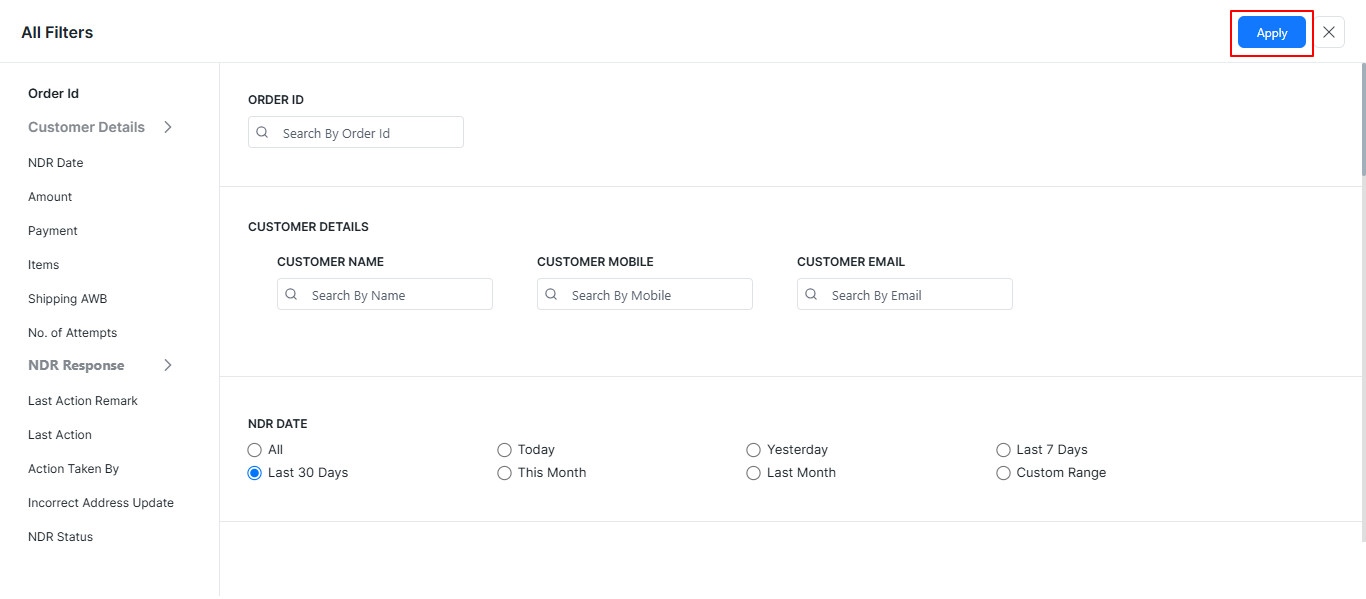
- Choose the desired criteria for filtering.
- Once the criteria are selected, click on the Apply button to see the filtered results.
What are the Standard Filters in the Table?
The Table has various filters. Let’s see and understand them one by one.
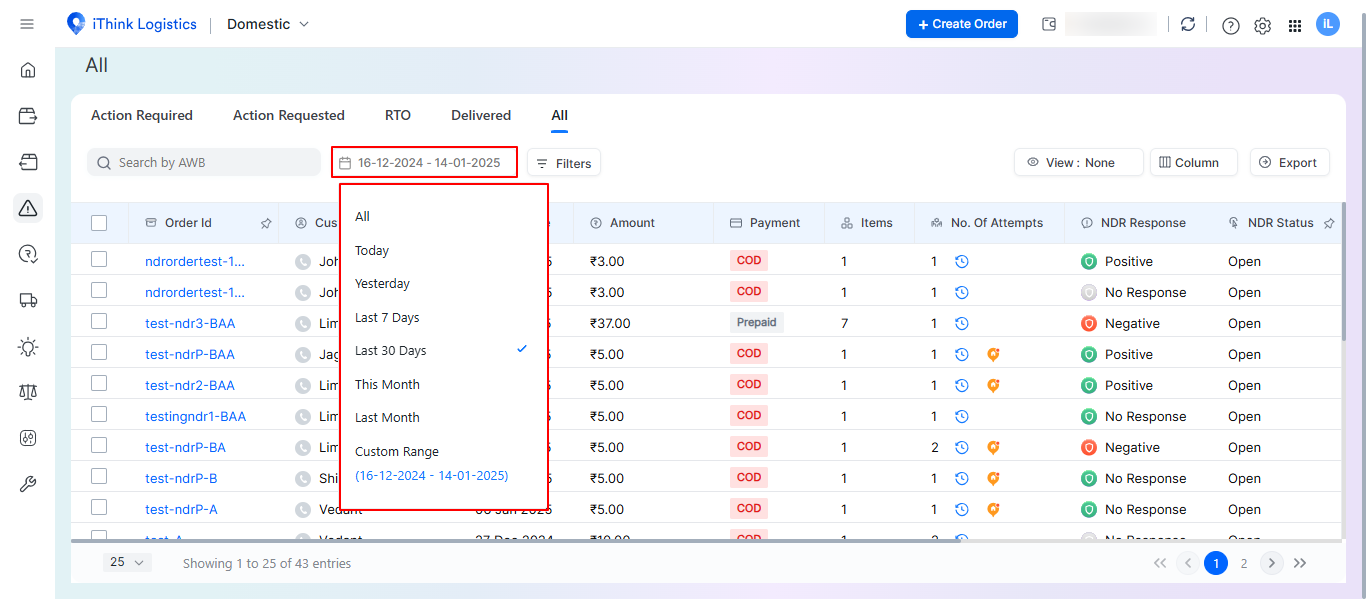
- Date filter: Click on the Date filter. After you click, a pop-up or calendar will appear. The date pop-up can consist of today, yesterday, last 7 days, Last 30 days, this month, last month, and custom-wise dates. You can select any dates or days accordingly and filter the data. You can also add the dates manually.
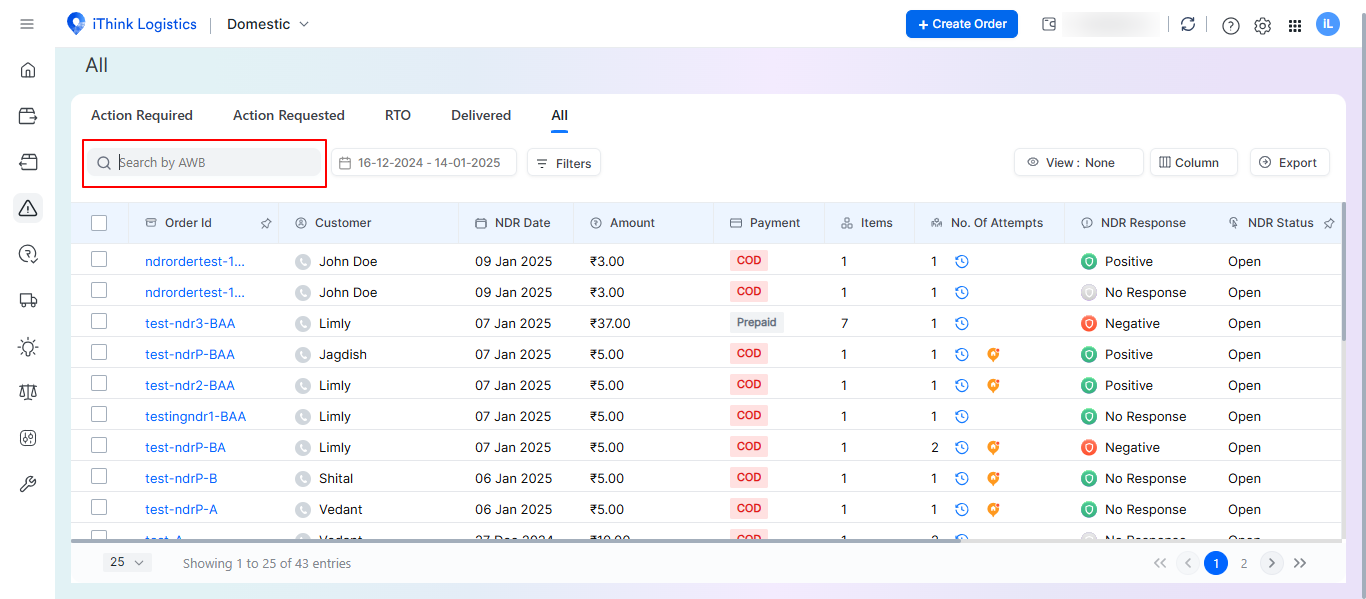
- Search order ID: You can search your shipments based on the order ID or AWB number by clicking the Search Order ID.
How Can I View the NDR History of Shipments?
- Click on the show history option. Here, you can review the complete journey of the parcel.

- The following screen will be displayed. Here, you can check the entire journey of the shipment.
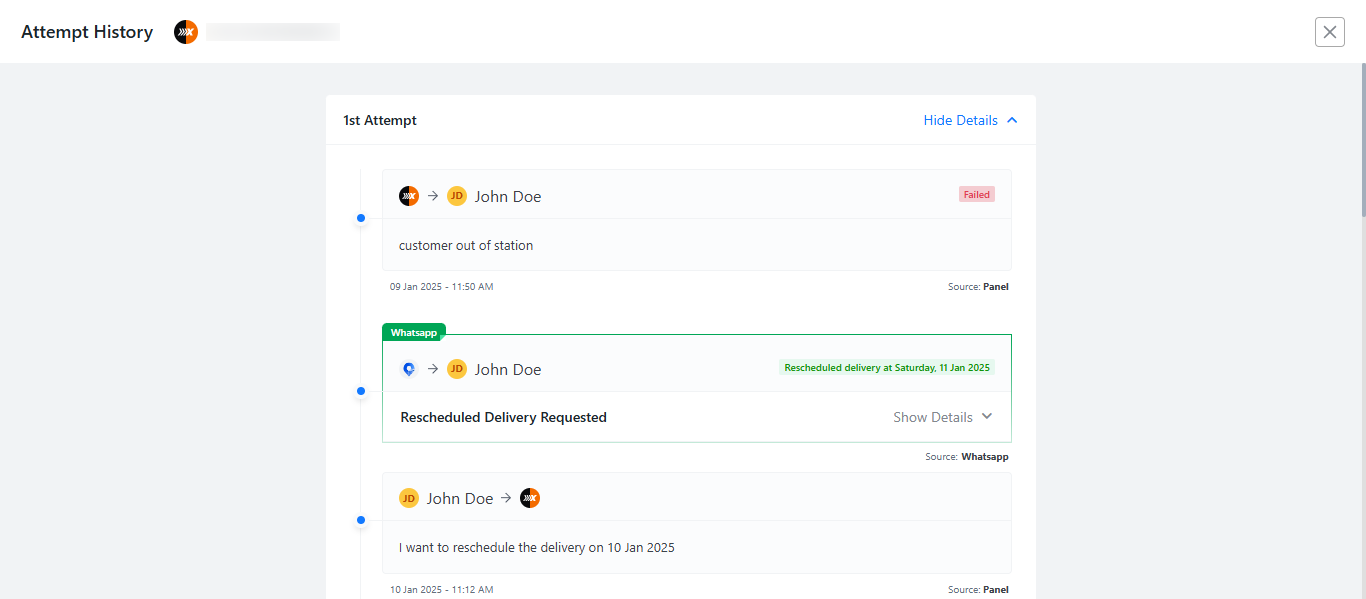
Note: If iThink Logistics or the seller has followed up with the customer, either in any way, by call, WhatsApp, or SMS, the same data will be stored in the timeline records along with the date and time of capture.
How to Escalate an NDR Shipment?
- In the “Action Required” Tab, you can see the button as escalation, based on whether or not you can take the necessary action against the order.
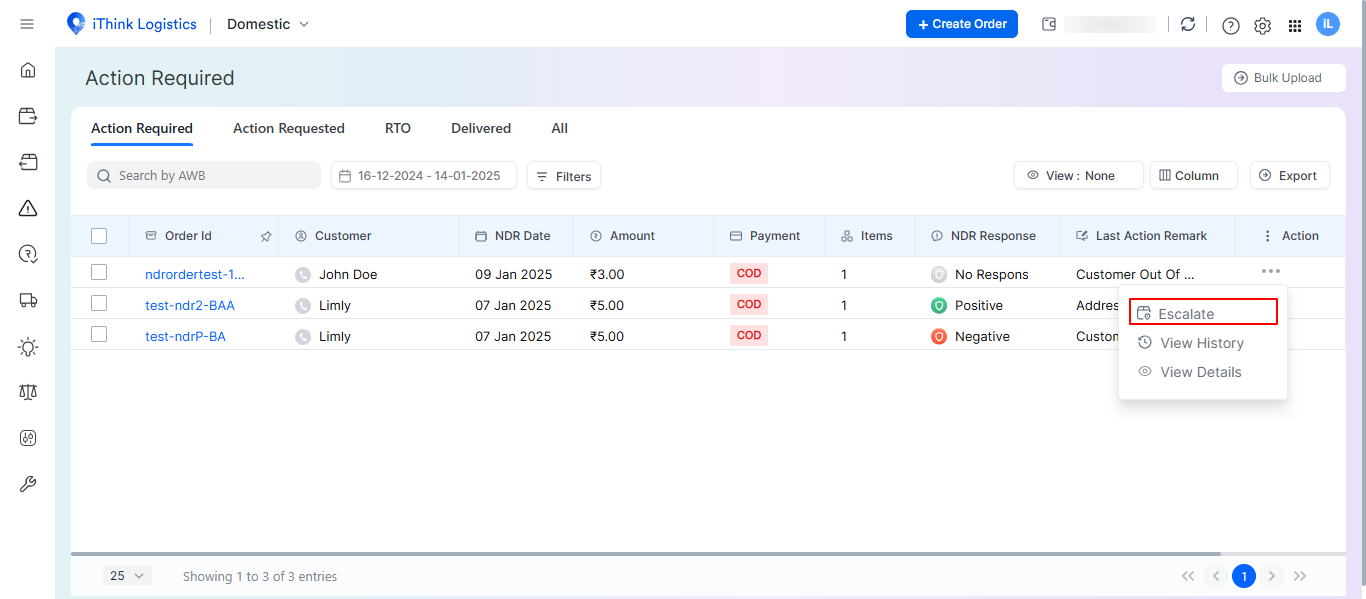
- A pop-up will appear with a click consisting of details such as AWB, Customer Information, and Escalation Options.
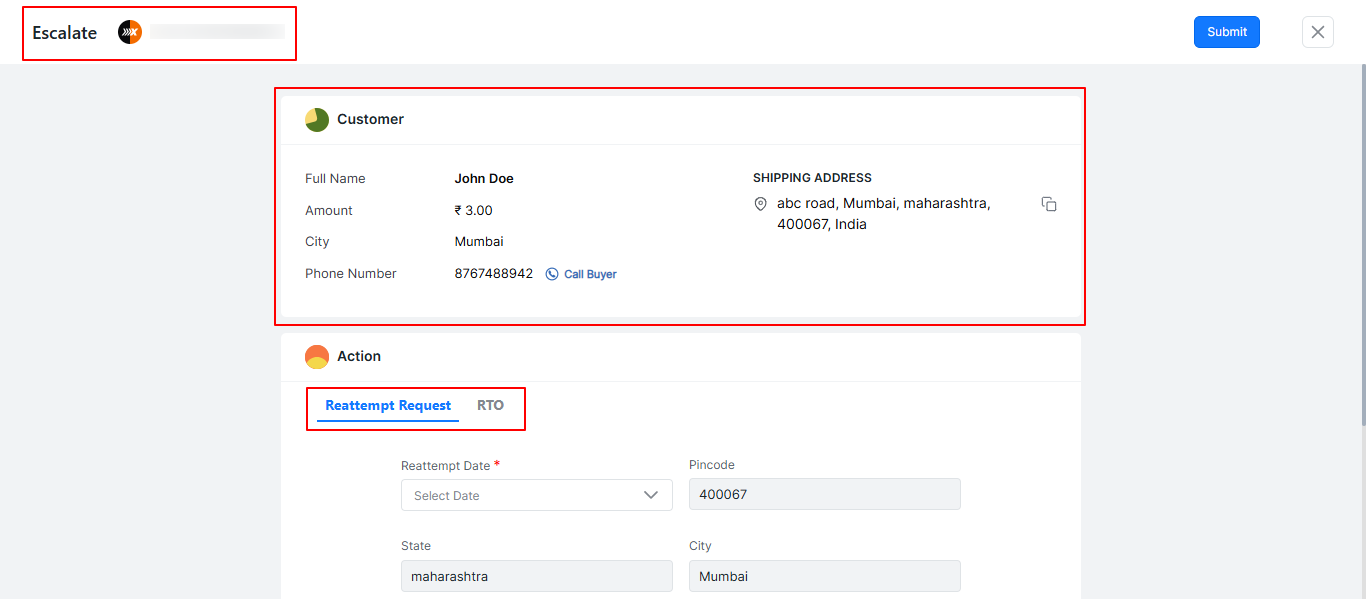
The modal pop-up has two options, i.e. Request to reattempt and RTO.
- Request to attempt: When you click the Request for Reattempt option, you can initiate a new attempt for a particular delivery.
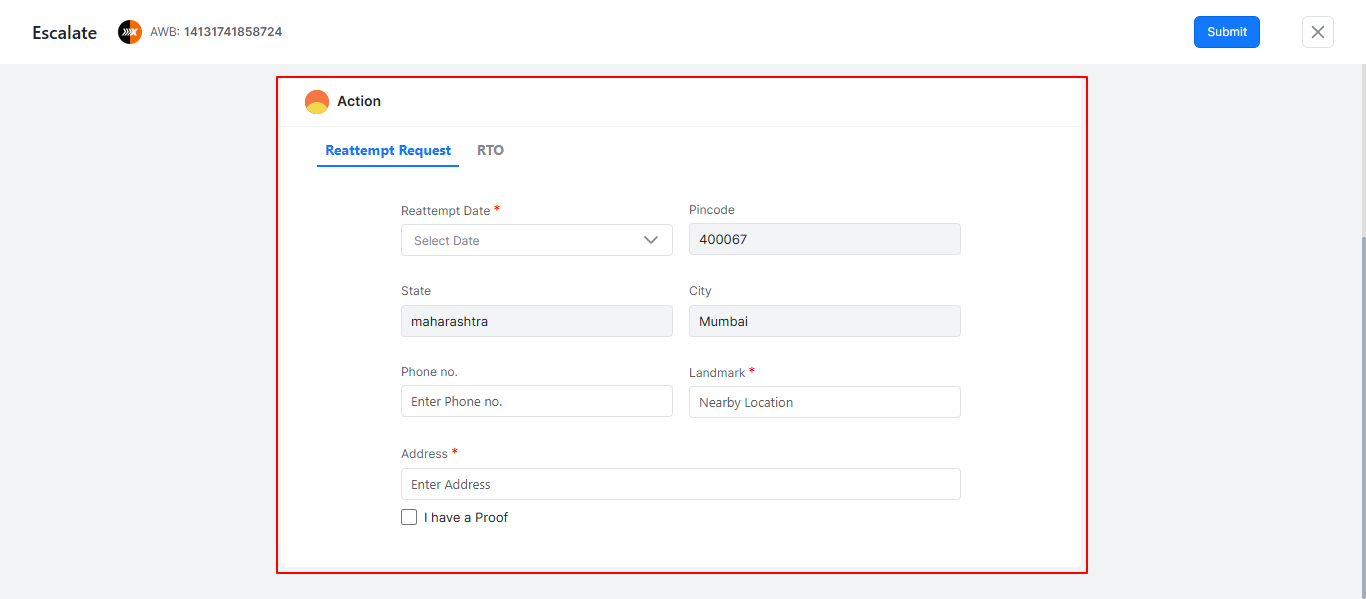
You can reattempt an order by filling out the details below.
- Reattempt date: Enter the date you attempt to deliver the parcel.
- Address: Enter the address if there is a correction or change in the same.
- Alternate phone number: Enter the alternate phone number if the given number is not available.
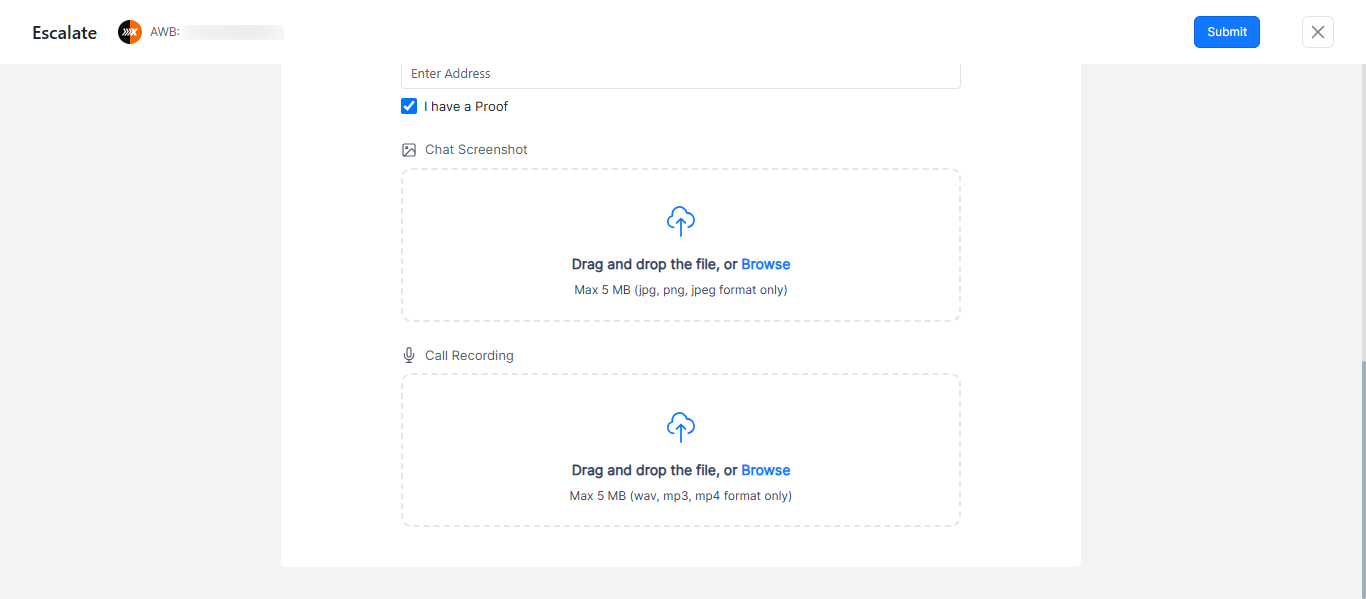
- Add media: Upload the conversation via screenshot or the call recording. (Click on “I have proof” to upload media.)
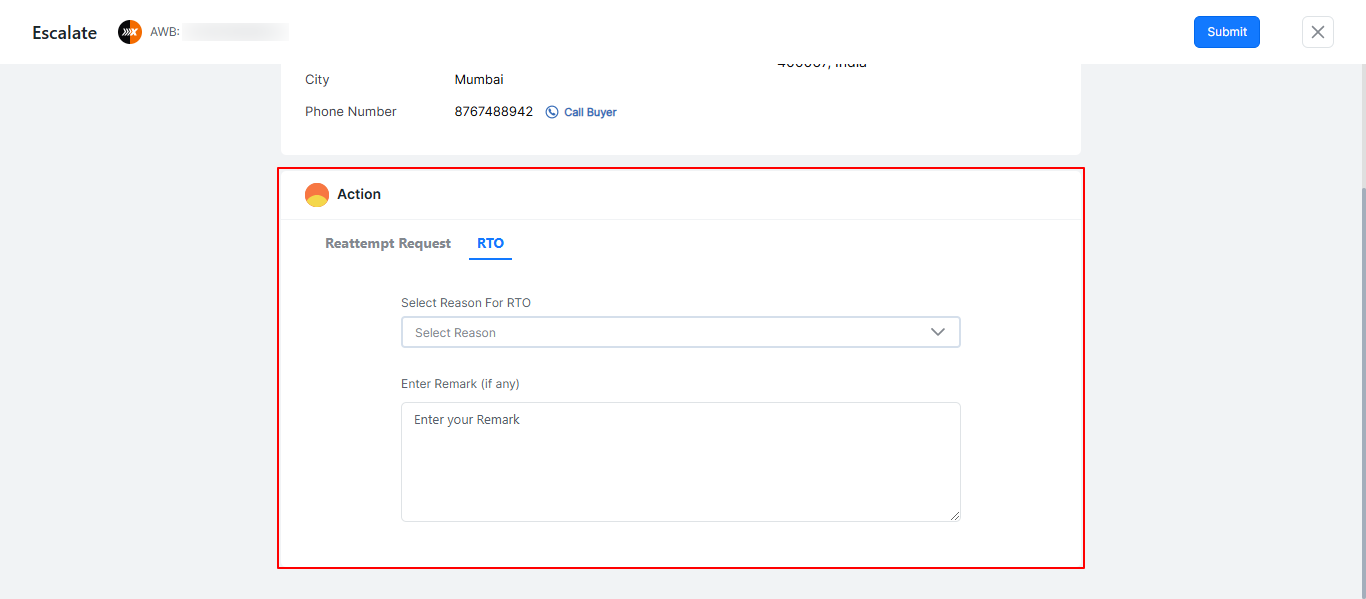
- RTO: To make an RTO, select the RTO option, select reason, enter your remark, and click the submit button.
How Can I Make a Manual Call to the Buyer From the NDR Panel?
- Click on the “Escalate” button in the Action Required Tab.
- A popup will open displaying customer details and an option to call the buyer.
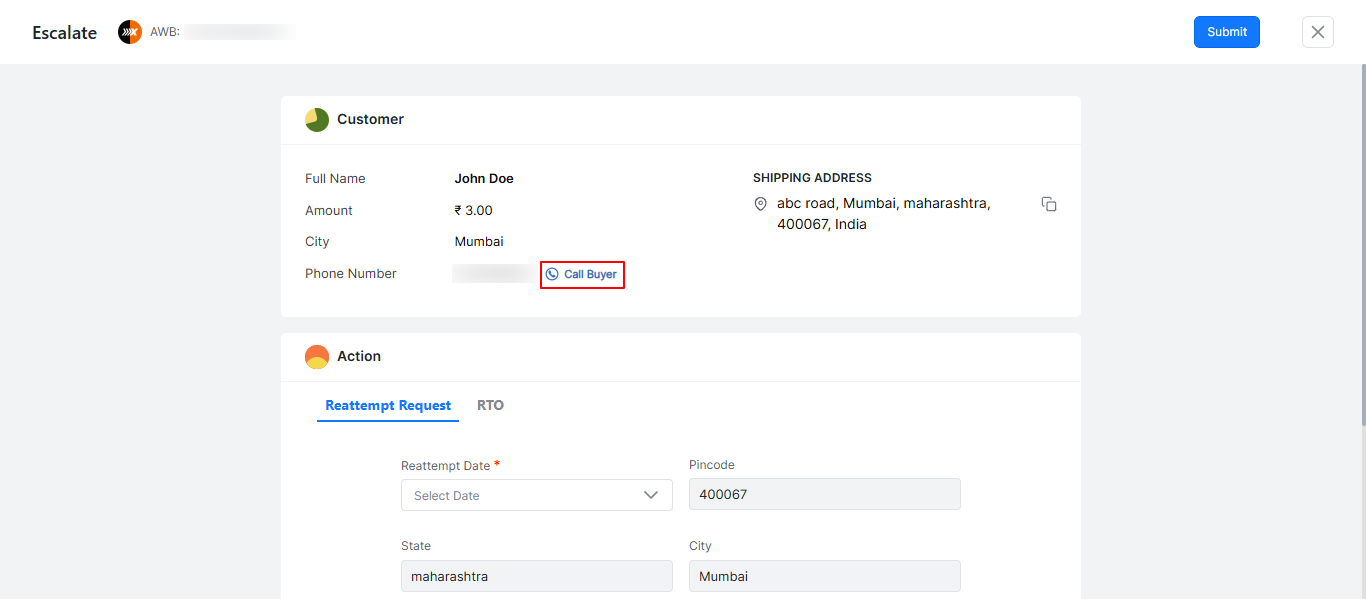
- When you click on the “Call Buyer” button, a text field will appear. Add your number and click on Initiate Call.

- When you click on Initiate Call, the call will be received on your phone. When you answer the call, it will connect you to the buyer.