What is Bulk Upload?
Bulk Upload is a Module, and its option is in the “store Order” Module where you can upload your products in bulk with the help of the Excel Sheet. Let’s look at the process in detail.
How to Navigate on a Bulk Upload Module?
- Log in to the iThink Logistics Account / Dashboard to reach out or navigate to the Bulk Upload.
- Open the browser.
- Enter the web page link of iThink Logistics in the browser: https://my.ithinklogistics.com/
- Enter the credentials in the Login Page.
- Click on Login

- After successfully logging in, you can now view the iThink Logistics dashboard on the screen.
- Now, on the Left side of the screen, you can see the "Forward order" drop down menu.
- In the drop-down menu, click on the Store Order Option.
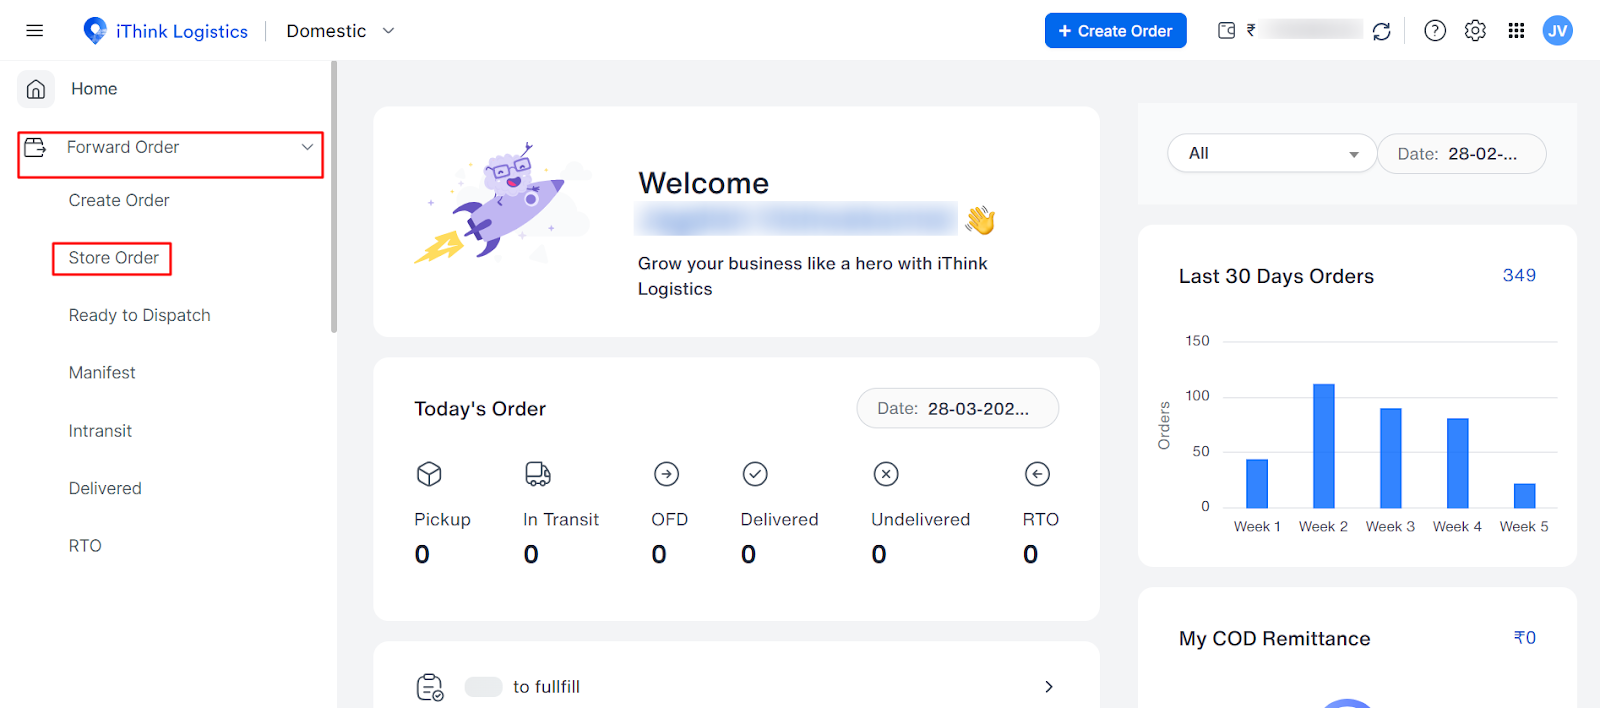
- The Store Order page will be displayed after you click the Store Orders option.
- You can see multiple options on the Store Order page in the top right corner.
- Click on the ‘Bulk Upload’ option.

- A popup will appear once you click on the ‘Bulk Upload’.

These were the steps to reach to the Bulk Upload Module. Further, let’s understand the Bulk Upload Process.
What is the process For ‘Bulk upload’?
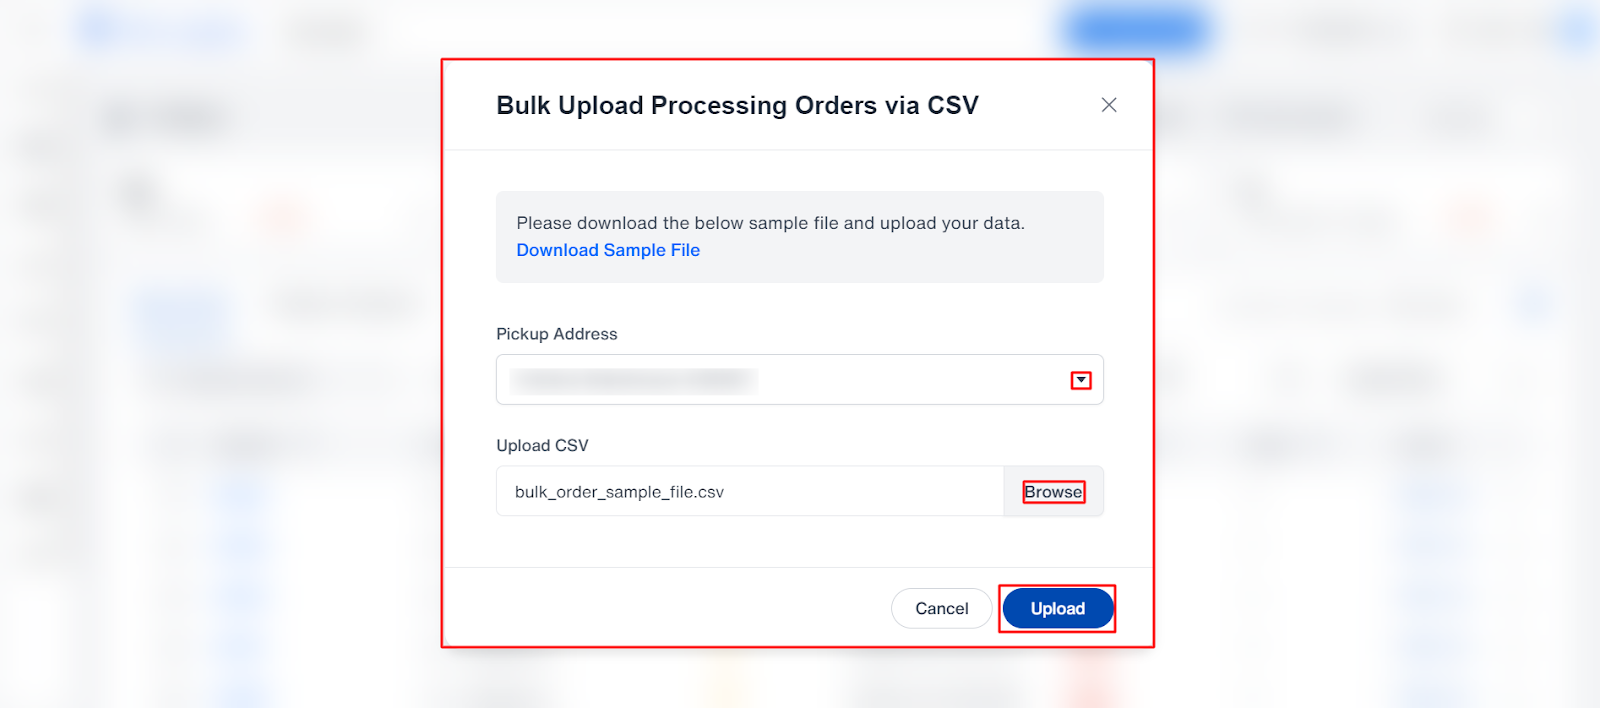
- A popup is displayed on the screen.
- Click On the ‘Select Pickup Address’ box, and a drop-down will appear.
- Select the address you require from the drop-down.
Moving forward to the Excel file, you can upload multiple products of the ‘same order’ and/or of different order’.
- Multiple products of different order: The user has to refer to the sample Excel sheet previously downloaded. After that, you must enter product details; the asterisk mark column is compulsory.
- Multiple products with the same order: If you want to add multiple products with the same order number. You need to enter the same order number and a different SKU number.
Once you know how to fill out the Excel sheet, move on to the ‘Browse’ Option, which you can see below the Address Option.
- Click on the ‘Browse’ button, and a system popup will appear on the screen.
Pro tip: You can use the sample file that has been downloaded previously to create a new bulk upload file.
- Select the file with the proper format.
- Then Click the ‘Open’ button.
- The file can then be seen in the browse column.
- After that, Click on the ‘Upload’ button.
- When you have clicked the ‘Upload’ button, you will redirected to the “Report download page”.
- Here, you can see the remarks of the ‘Bulk Upload Order Report’, which could be ‘pending’ or ‘completed’.
Note: The ‘Pending’ remark will be in Red. The ‘Pending’ Remark shows an incomplete upload count.
‘Complete’ remarks will be in green. The ‘Complete’ Remark shows the successfully uploaded count.
- If the remark is ‘Completed’, you can download the report by clicking on the Download option beside the ‘Completed’ remark. And if the remark is ‘Pending’, the Download option is disabled.