Navigation of Cod to Prepaid
- Login to iThink Logistics Panel and fill in a username and password
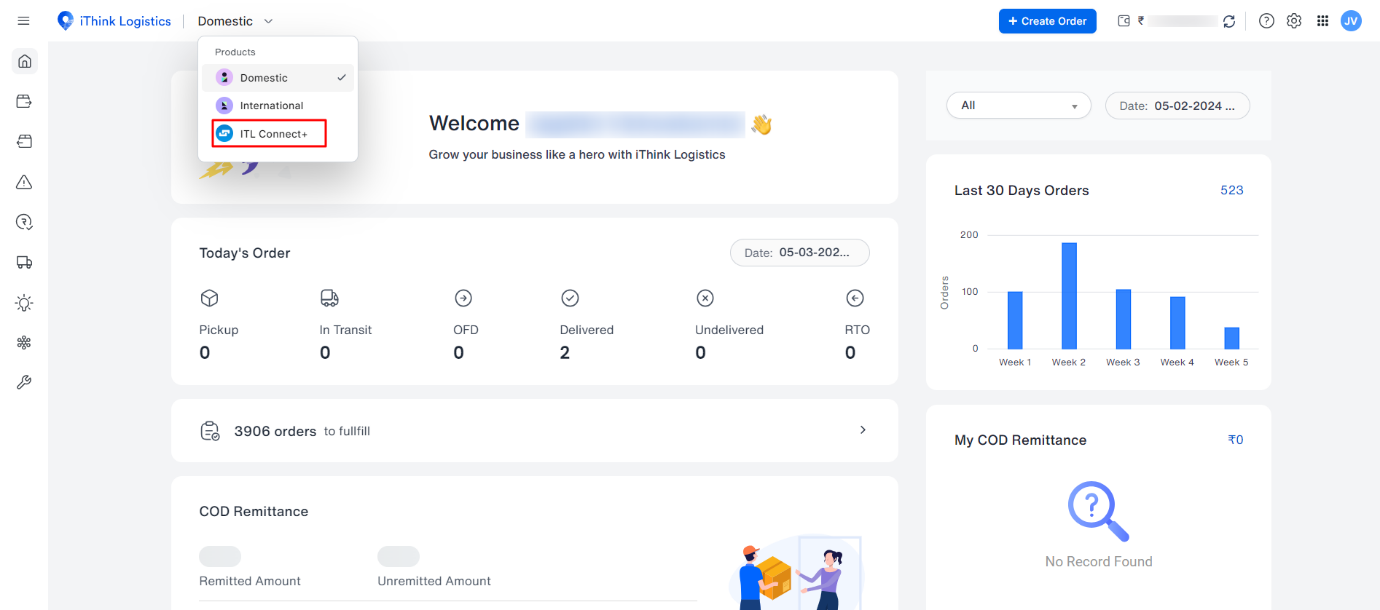
- The User will be redirected to the dashboard

- Click on the top menu user can see a Drop down menu icon by clicking on that, the User can see three products: Domestics, international, and ITL Connect+ by clicking on ITL Connect +.
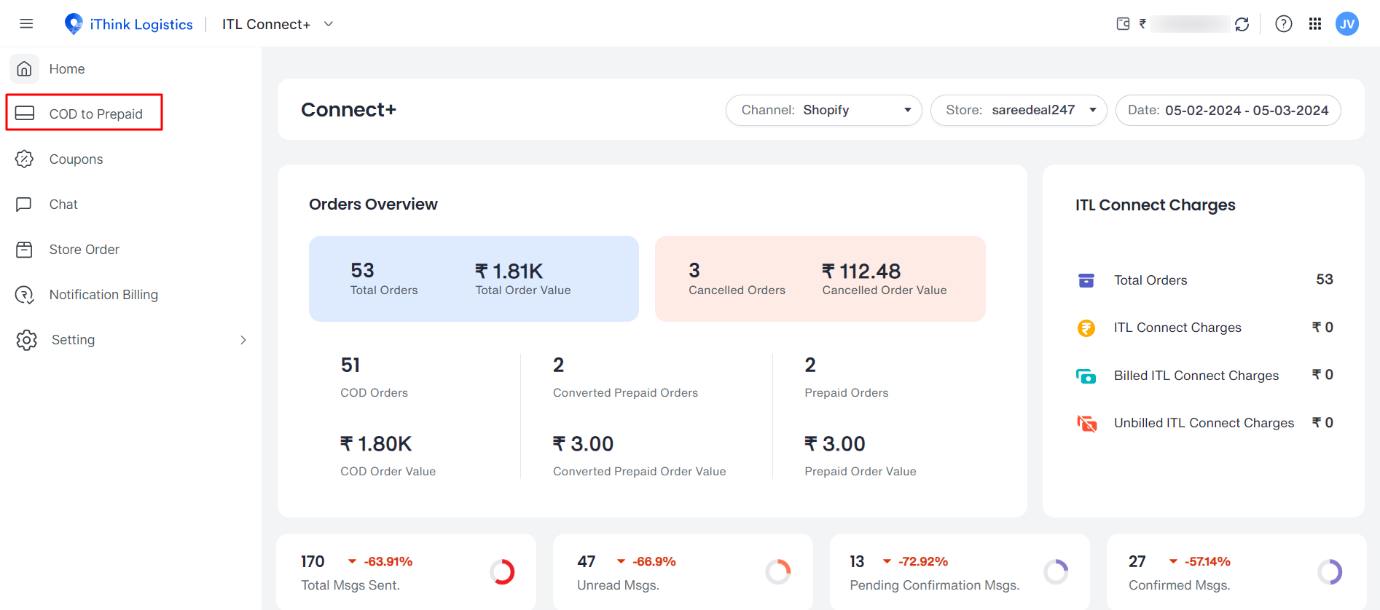
- The User will be redirected to the iThink Logistics Connect+ dashboard page.
- Users will come to the iThink Logistics Connect+ page, and they can see COD to prepaid orders on the left corner by clicking on that.
- The User will be redirected to the View Cod to Prepaid page.
How Cod To Prepaid Work ?
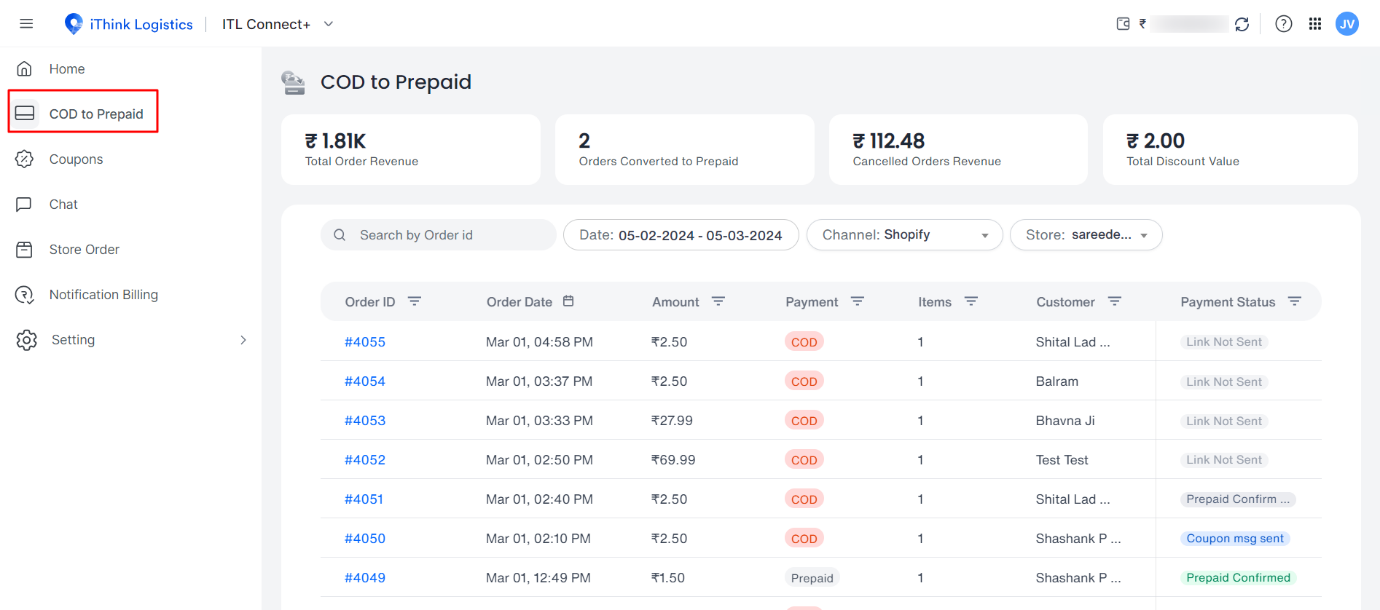
- Users can view the list of orders converted from COD to prepaid.
- Following is the screen where you can view the list of COD orders converted to Prepaid
- You can view the widgets with the overview for the COD to prepaid orders.
Total Order Revenue:
Total revenue received from the no. of orders count received on the panel
Orders converted to prepaid:
Total Number of order counts which are converted from COD to Prepaid
Cancelled order revenue:
Revenue loss can be checked for orders that are cancelled.
Total applied discount value:
The total discount amount is applied during the purchase of the order.
Search and Filter

- Search: On search, the User can search by order ID, where the User can search for a single or multiple orders separately.
- Date Filter: The User can select multiple dates using the Date filter option. Based on that, the order data will be displayed, and there is one more option, a custom date filter, in which the User can select their customized dates.
- Channel Filter: The User can select the channel from the drop-down, and the store value will appear where the User can select the Store. Out channel Store pending upon channel selection, the store list will be visible.
- Store Filter: The User can select Store from the store list

COD to Prepaid list order
Following is the list of filters. Here are the details shown in the list
- Order ID: while clicking on the order ID filter, the popup will open, and the User can enter a single order ID and click on apply. Then, the User can view the results accordingly.

- Order date: In the order date filter, users can select multiple dates based on the order data. There's one more option, the custom option, in which Users can select their customized dates. The results will be displayed accordingly.

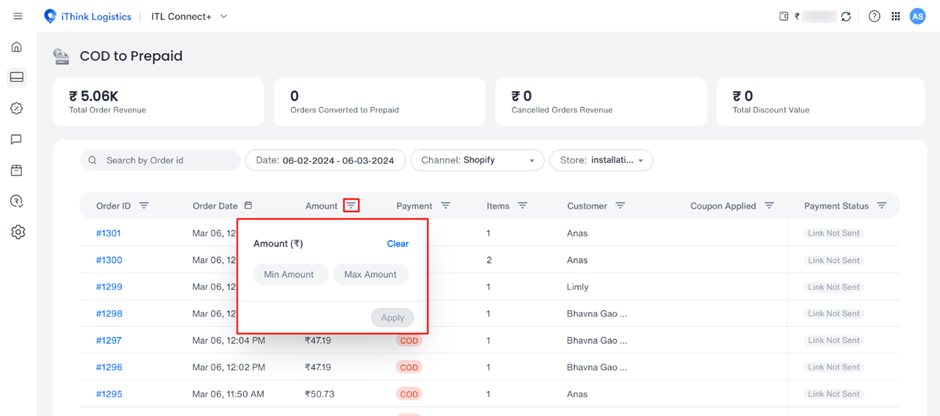
- Amount: Once the amount filter is clicked, the User can view the order amount and filter the order as per the order amount popup. The user can search for the amount from min to max and rewrite more.
- Payment: Click on Payment Filter, and a Popup will appear. Here, users can view the payment types like Prepaid, COD Unverified and COD Verified, and the Result will be displayed according to the filter selection.

- Items: Click on the item filter. A popup will appear. The user can view the item counts and filter the order according to the items. Results will appear accordingly.

Product details appear when selecting the number, where users can see details like the product name, price, and quantity.
- Customer: The user can view the customer details and the name for the selected order. Click on the Customer Filter Option, and a Popup will appear, The User can search by Name, Mobile Number Etc.
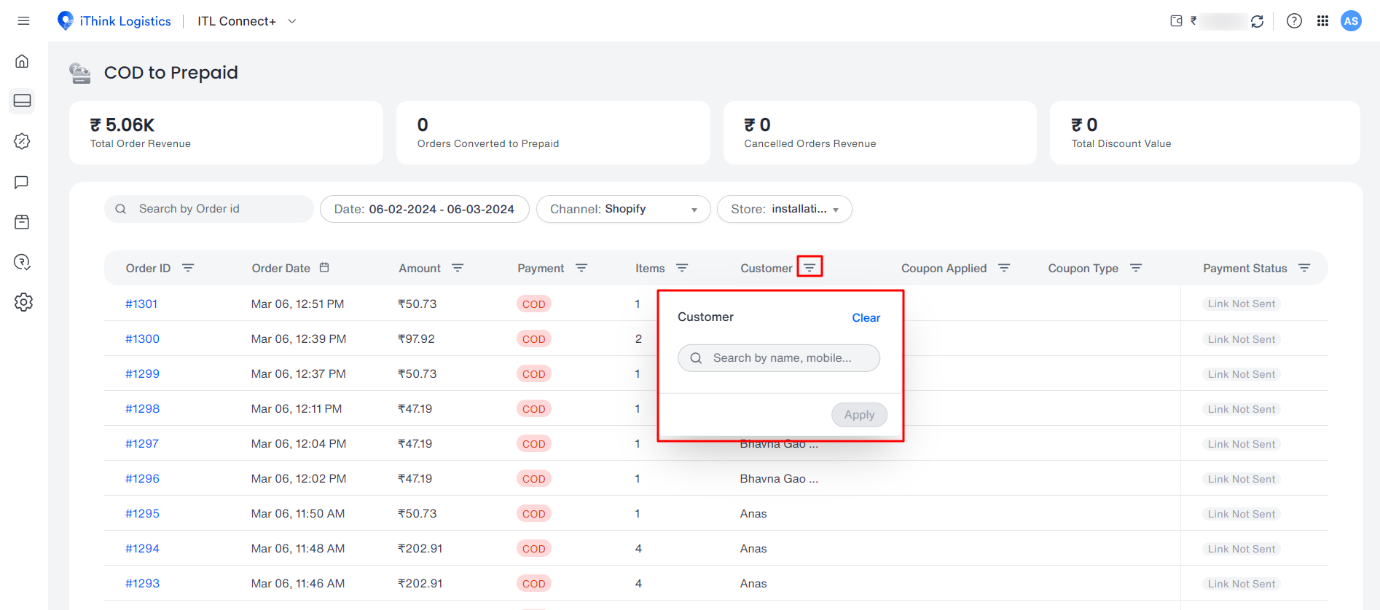
- On the customer name, click on the customer details, where the User can see the customer's mobile number, email ID and name.

- Coupon Applied: Click on the coupon applied. A filter popup will appear. The user can filter data by applying a coupon.

- Coupon Type: to filter data, click on coupon type. A filter popup will appear. Select a flat or discount. Anyone can select here. The User can filter data by coupon type.

- Payment Status: Click on Payment Status Filter, and a Popup will appear. Select the option according to which you want to filter, and Results will appear accordingly. Users can check the status of the payment.
- To find specific data, the user can filter by clicking on the filter and selecting one or more options from the popup (link not sent, link sent, link pending).
- Next, click on the apply button. The User can view filtered data accordingly.

- You can adjust the rows as needed and verify N number of selected entries simultaneously.
- You can view the pagination available and click on the pages to view the data for those pages.
