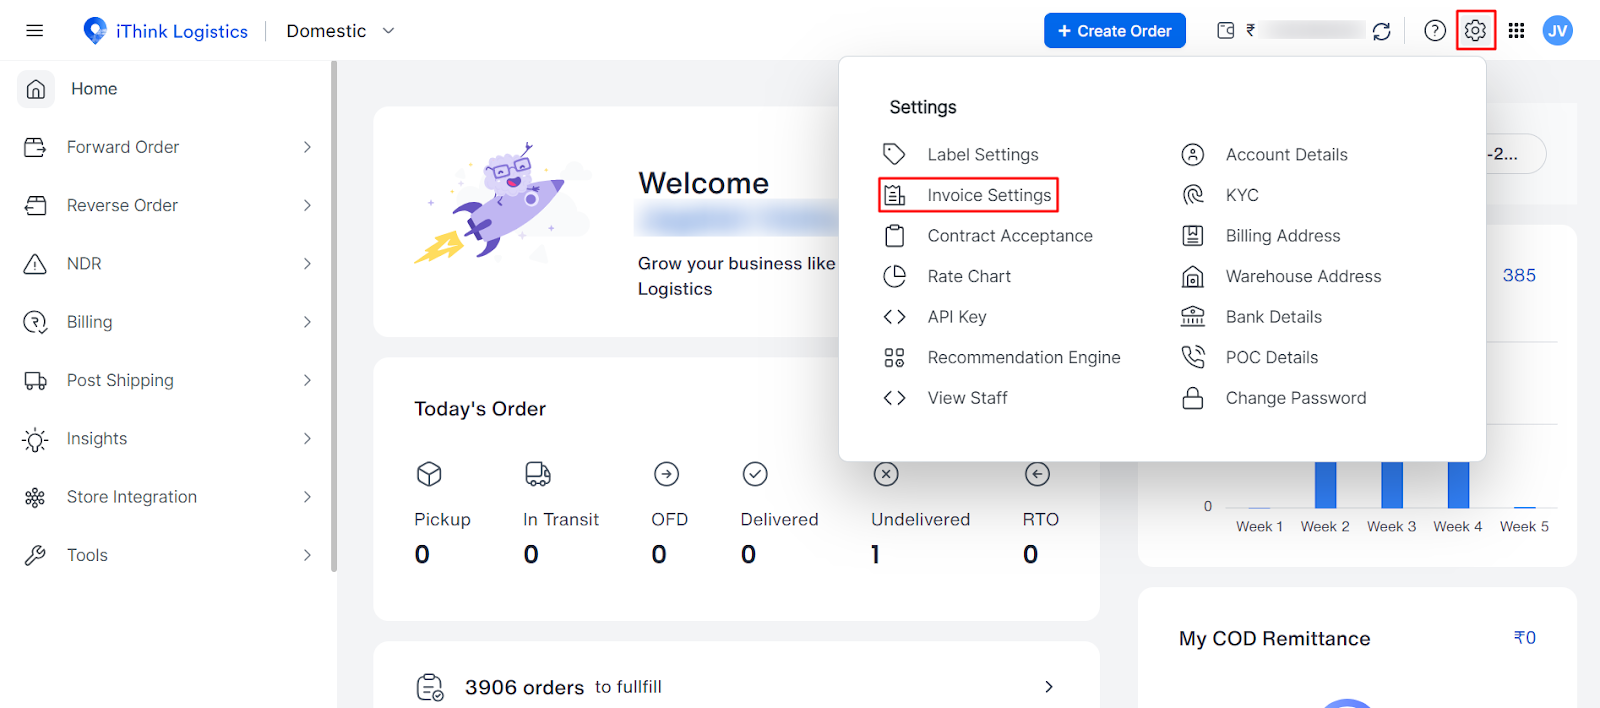
How do I Navigate to the Invoice Setting?
- Click on Invoice settings, and the image will display the following screen.
- The following are the details the seller needs to add to generate the invoice for the customer, as per the seller's requirement.

- Company Name: Enter your company name
- CIN (Optional): Add the Company Identification Number (if any).
- GST Number: Add your 15-digit registered GST number.
- Invoice prefix: Add the Invoice prefix as you want. This will be common for the invoice number.
- Invoice suffix: Add the Invoice suffix from the number you want the invoice generated.
Example: If the seller entered TS as the invoice prefix and 0001 as the Invoice suffix, then the Invoice number will be TS - 0001
- Upload logo: Any company logo that needs to be displayed on the invoice can be uploaded here.
Note: Only upload the image in .JPG, JPEG or PNG format.
- Upload your signature: Upload an image of the signature, which needs to be shown on the invoice.
Note: Only upload the image in .JPG, JPEG or PNG format.

Once all the data is uploaded, click the submit button and save the information.
Note: All the fields you entered mentioned above can be changed or edited. Sellers can edit and re-update the information or details and submit it again.
Note: Your invoice will include all the information you provide. If necessary, you can send a soft copy or print the invoice.